Overview
This tutorial will help you build your first Next.js zkLogin app. It uses a starter template we’ve created that makes it very easy! The app uses the Shinami Next.js zkLogin SDK to make requests to our zkLogin wallet API. It also uses Shinami Gas Station to sponsor transactions for the zkLogin wallets created. Sponsoring your users’ transactions removes friction like completing KYC checks to buy SUI for gas. This is especially useful for zkLogin wallets since when you create one the user will not have any SUI in it (and won’t even know their wallet address unless you tell them).Usage and Billing FAQ
Make sure to check out the Sui Wallet Services product usage FAQ and billing FAQ in our Help Center for answers to common questionsTutorial Steps
Notes:
- This tutorial requires a Shinami account. If you do not have one, you can sign up here.
- We take you through the process step-by-step below, but if you get stuck you can reach out to us.
1. Create a Shinami Gas Station fund on Testnet
See the Sui Gas Station page of our Help Center for guidance on how to create a fund.2. Create a Shinami API access key
You’ll need an API key with rights to both Wallet Services and Gas Station on Testnet. The Gas Station rights should be connected to the Gas Station fund you created in step 1. See our Authentication and API Keys guide for guidance on how to make a key. For security purposes, any access keys with Gas Station or Wallet Services rights should be used only on your app backend to prevent exposing them.3. Create an OAuth client app for Twitch, Google, Apple, and/or Facebook
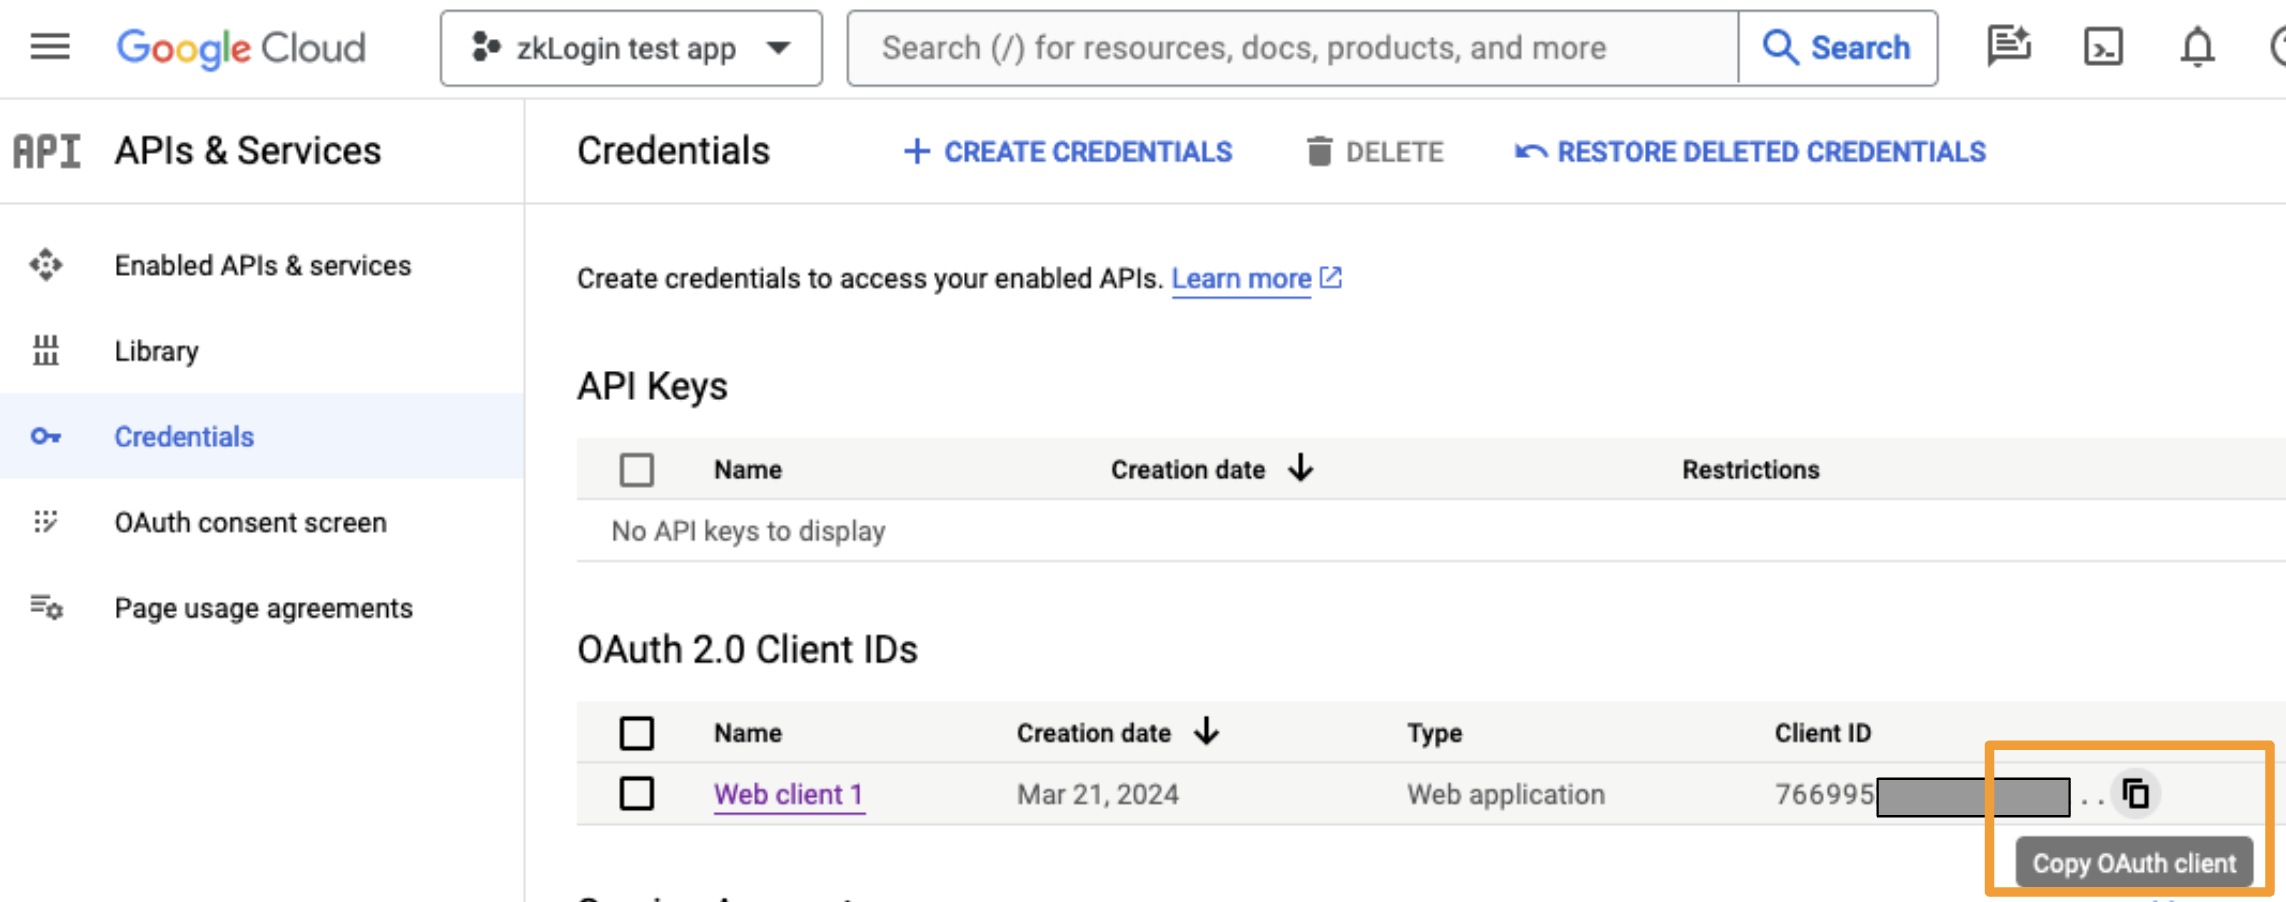
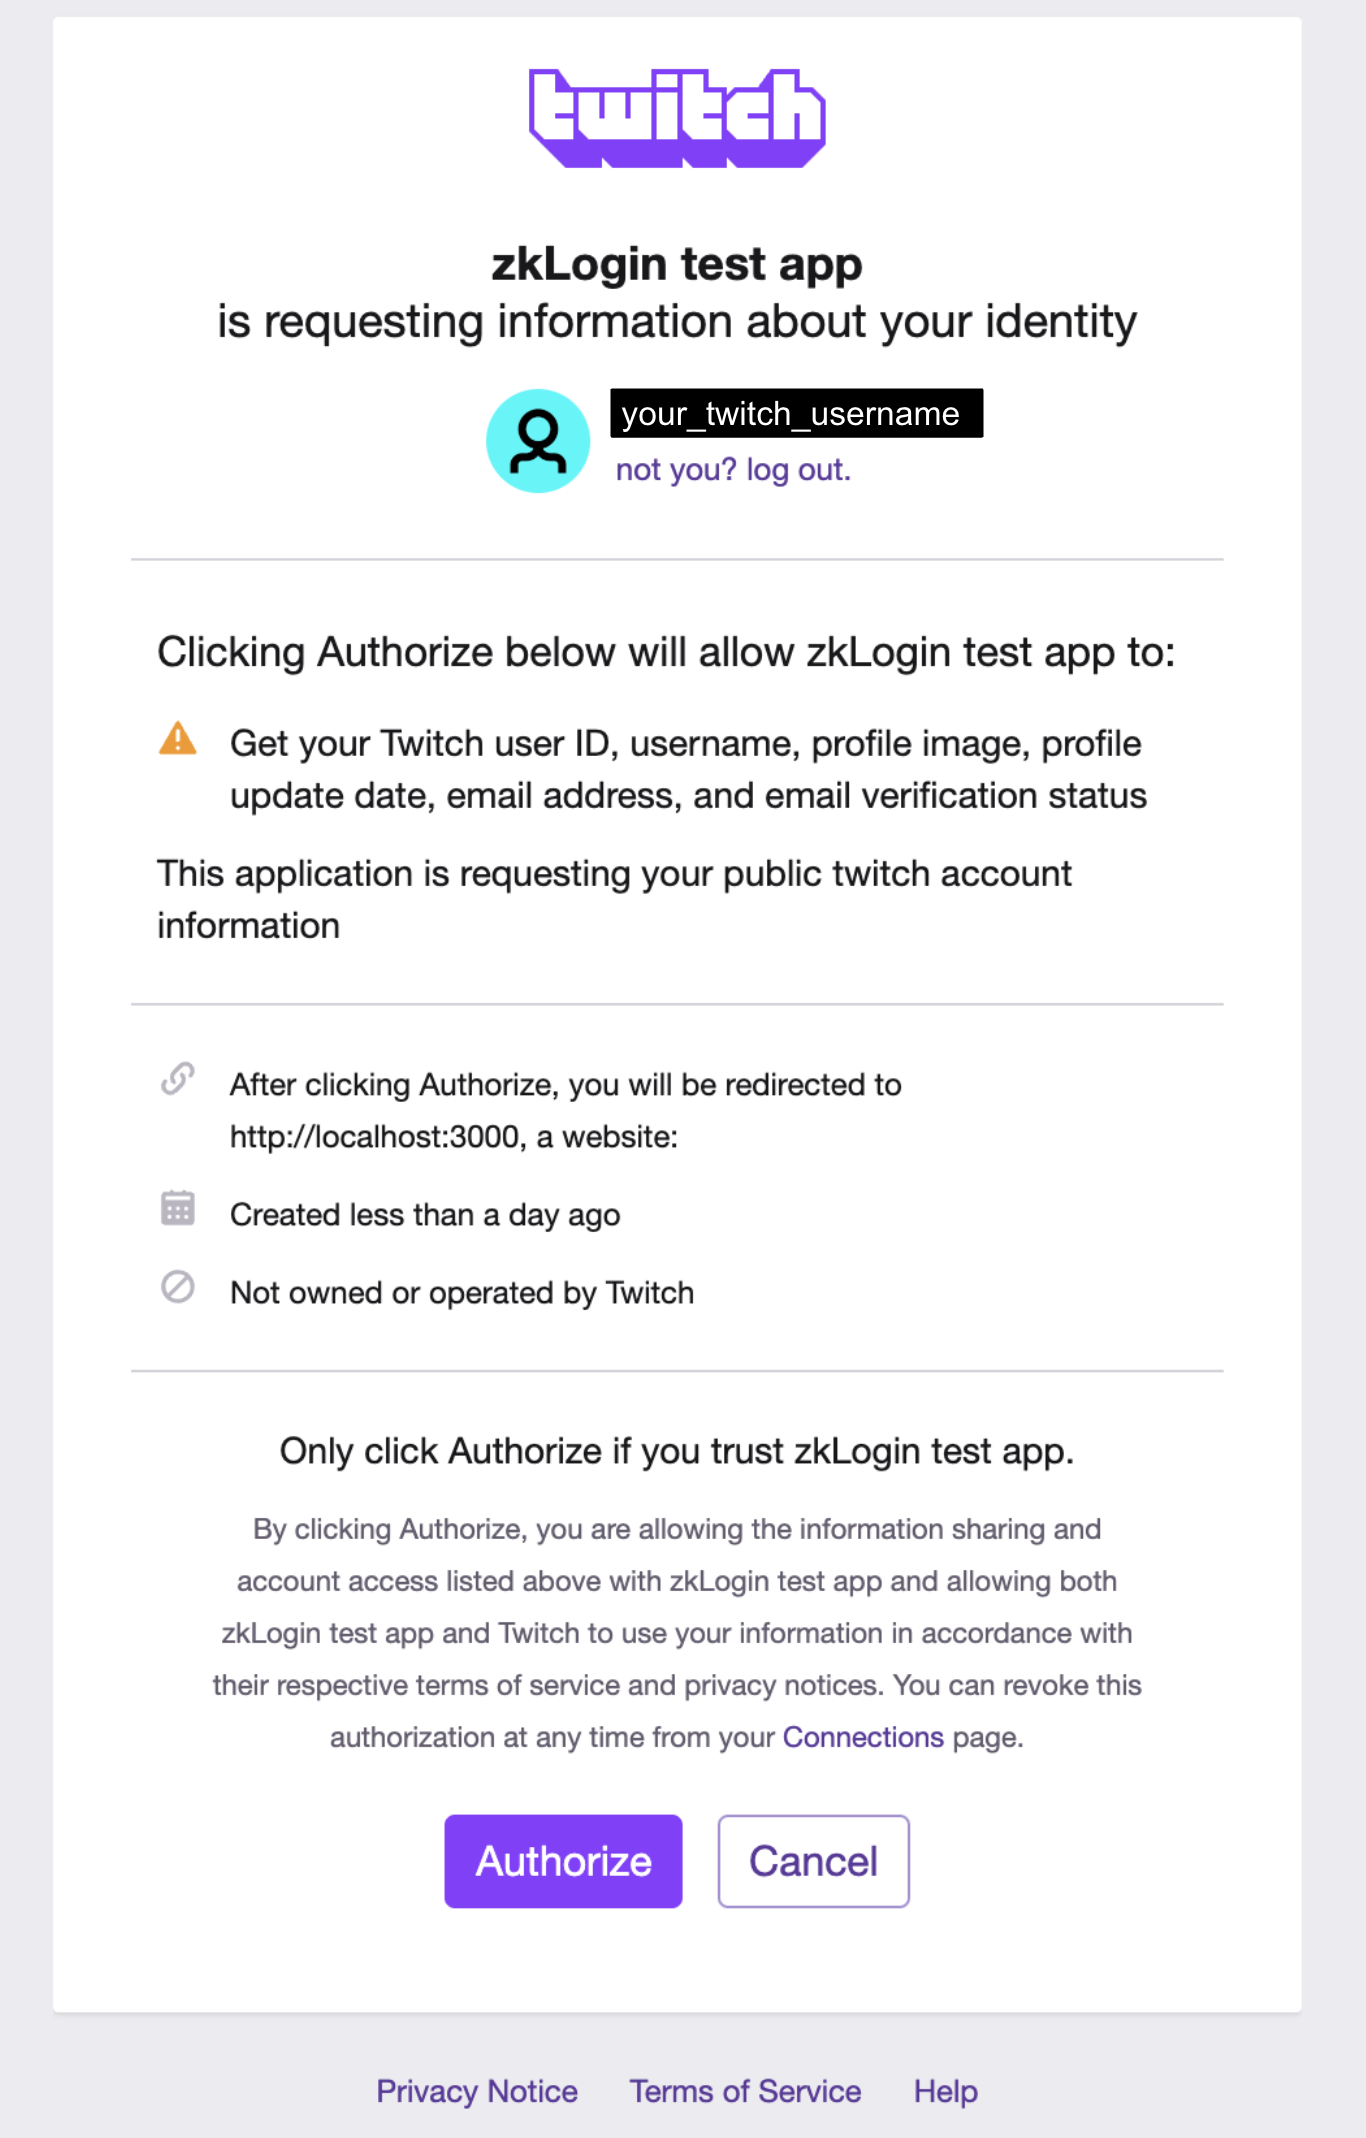
Below, we integrate with Twitch, Facebook, and Google, but you’re only required to integrate with one. See Mysten’s doc for information on how to set up a developer account and an OAuth login client app with any of the OpenID Connect providers currently supported. We didn’t show a full Apple example because it requires a paid developer account which you may not have, but we add a few key notes about Apple integration below.Twitch
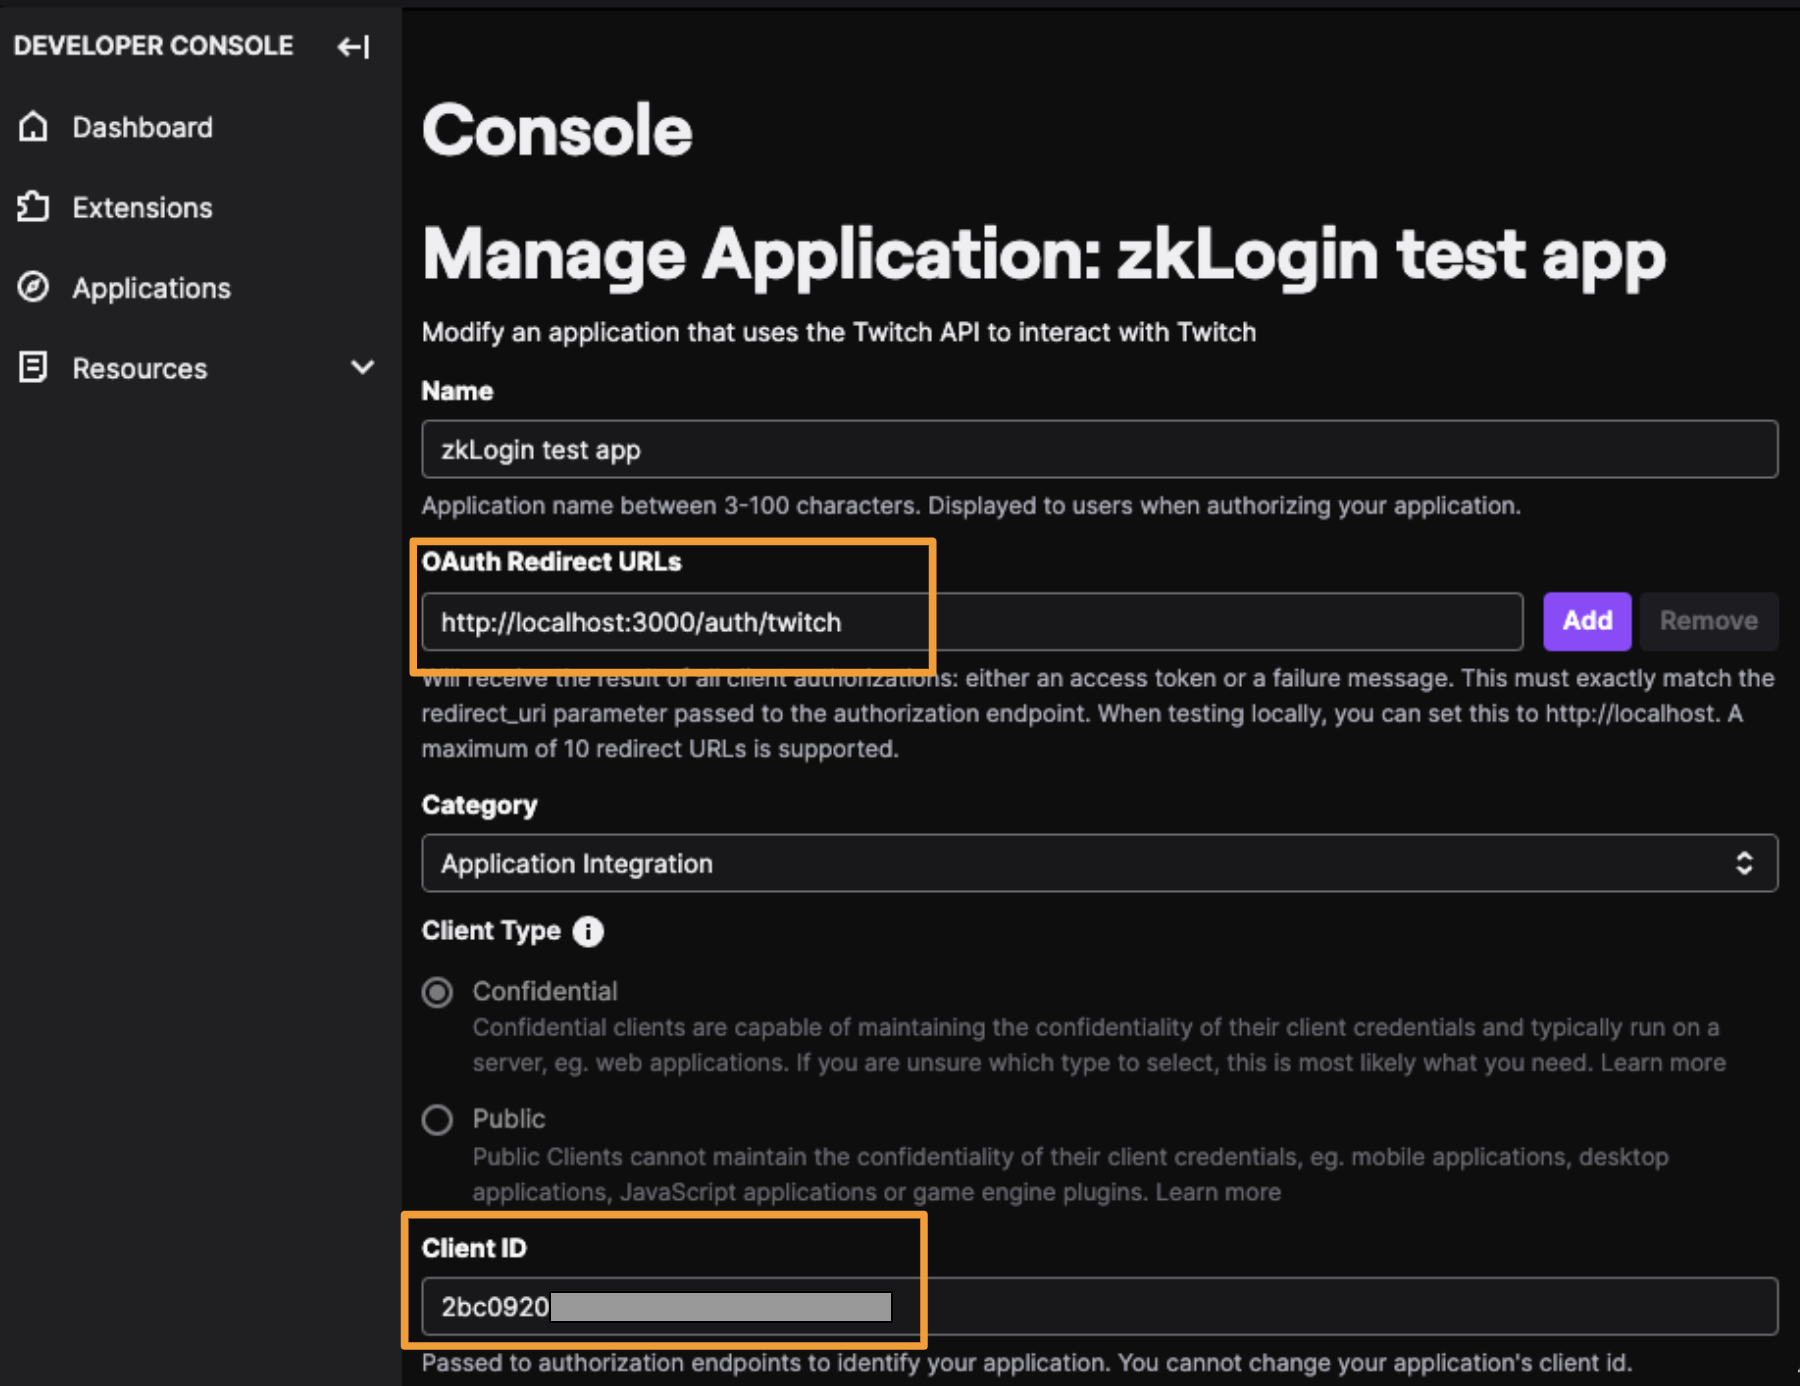
The redirect URL to set up in the Twitch developer console for your app ishttp://localhost:3000/auth/twitch. You’ll also need to copy the Client ID value that Twitch assigns your app to use as an environmental variable in the next step.
http://localhost:3000 is automatically allowed as a redirect URI and doesn’t need to be explicitly set. You’ll also need to copy the App ID value Facebook assigns your app to use as an environmental variable in the next step.

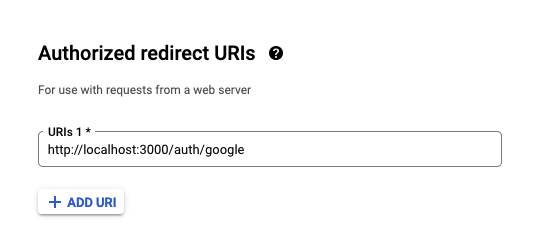
http://localhost:3000/auth/google.
Apple
For Apple, you must authorize a slightly different redirect URI (note theapi/ prefix): https://<your-domain>/api/auth/apple.
Note that Apple doesn’t support either localhost or http. Thus for local testing, you’ll need to access the dev server on a mock domain, either by modifying
/etc/hosts (e.g. adding 127.0.0.1 my-local-site.com) or through a tunneling service such as ngrok. Either way, you must authorize the resulting URL on your Sign in with Apple application.4. Download and configure the sample project
Download This project is located on github. You can use npm, Yarn, or pnpm to bootstrap the example:.env.local file which should not committed to git since it contains sensitive information like API access key values. In the root directory of the project, run cp .env .env.local on the command line to make a .env.local file that’s a copy of the .env file. Below, we show how to fill in values for the new .env.local file.
You’ll need to make four changes to the file:
- For each OpenID Connect provider you created a client app with, uncomment the associated
NEXT_PUBLIC_*_CLIENT_IDvariable and set the value to the associated client/app ID. In my examples above, the partial ID values are2bc0920for Twitch,141521for Facebook, and766995for Google. Use your own client/app id values, which will be longer. - Uncomment the
IRON_SESSION_SECRETvariable and generate a session secret, e.g. withopenssl rand -hex 32on the command line. Example output isbdd51e3b307c7cdae48c3dd2ce83f5e7a0b6db10fdeea0b4d5990f857c156dd7(but don’t share your secrets!) - Uncomment the
SHINAMI_SUPER_ACCESS_KEYvariable and set it to the Testnet access key you created with rights toWallet ServicesandGas Station. Let’s imagine it’ssui_testnet_abc123. This is too short for a real key. Also, do not expose your keys! This key will only be used on the backend, as should be done with any Shinami API access key with Gas Station or Wallet Service rights.
EXAMPLE_MOVE_PACKAGE_ID. This package has a public entry function that takes two numbers and adds them together (I know, super exciting!).
Beyond this, our starter template sets the maxEpoch value, which determines the expiration time of the ephemeral KeyPair, to current epoch + 1. This means that when the Sui epoch number moves above that value, a new ephemeral KeyPair and thus JWT will be needed, so the user will need to complete the OpenID authentication flow again. If you instead use relativeToCurrentEpoch(sui, 0) for example, the ephemeral KeyPair will expire when the current Sui epoch does. For more on KeyPair expiration, see Sui Foundation’s zkLogin doc.
5. Run and interact with the app
Run the app and login
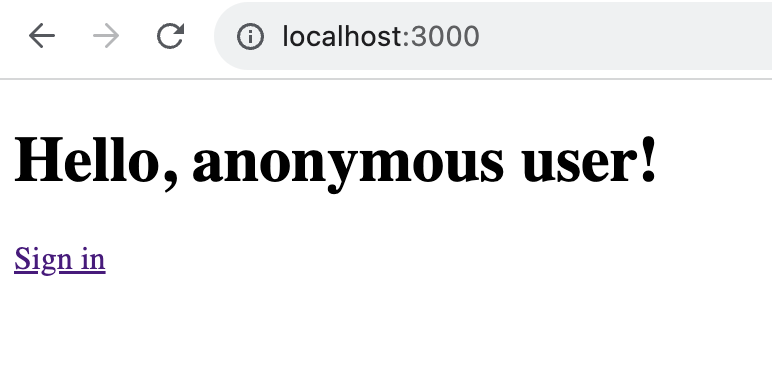
Now, you can run the project! On the command line, runnpm run dev . Then, visit http://localhost:3000 in your browser and you’ll be greeted with prompt to sign in.
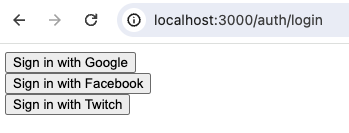
*_CLIENT_ID environmental variable for. Since we didn’t set a value for Apple but did for the other three, we see the following:
Make a Move function call
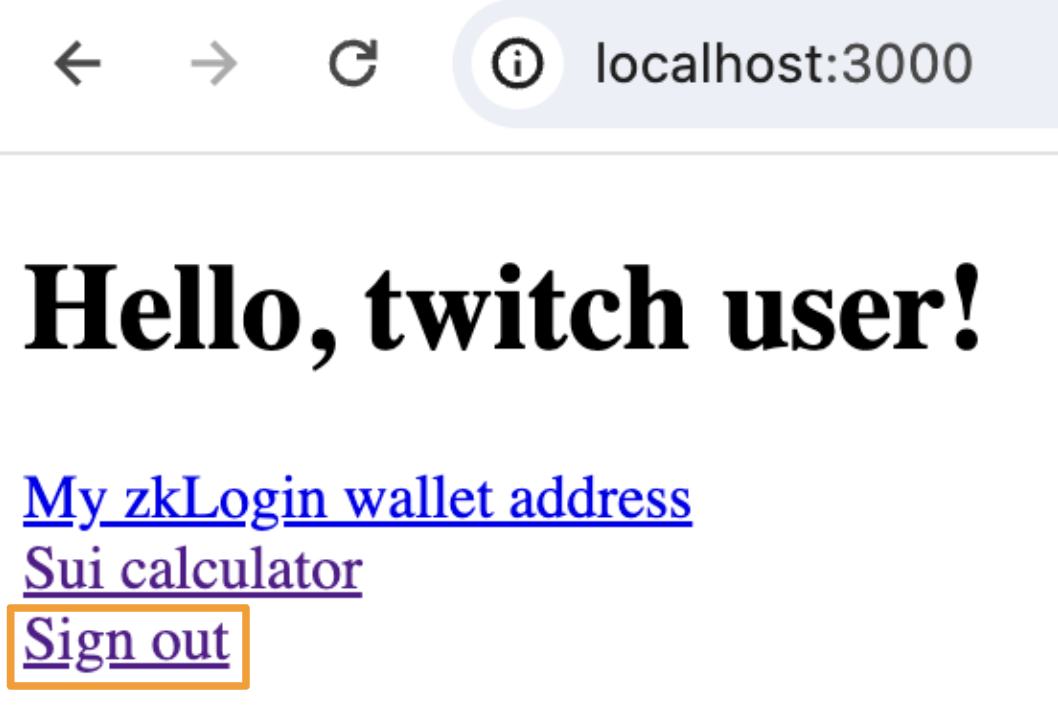
Now, you should be successfully logged in and see the following: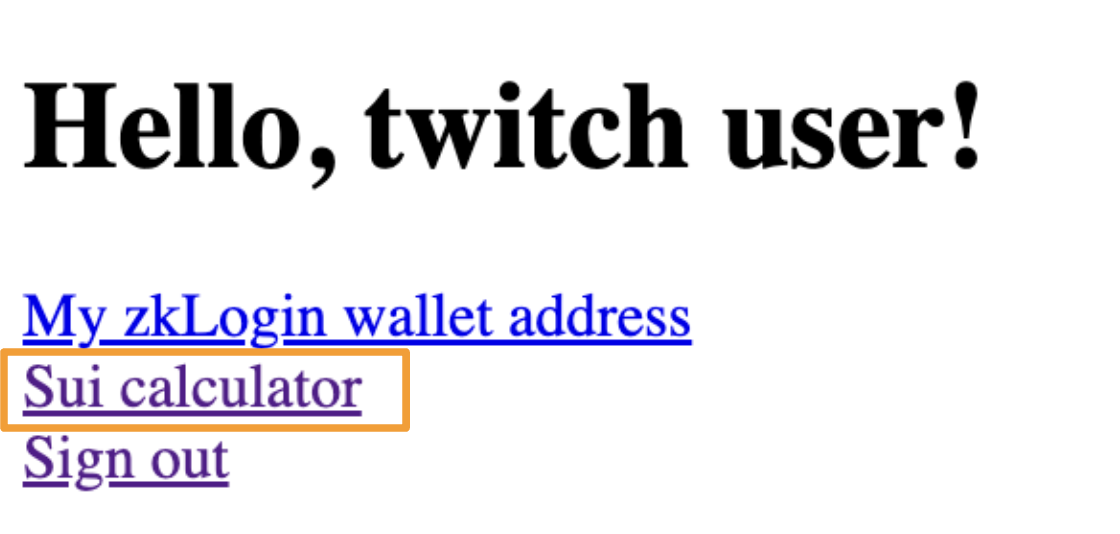
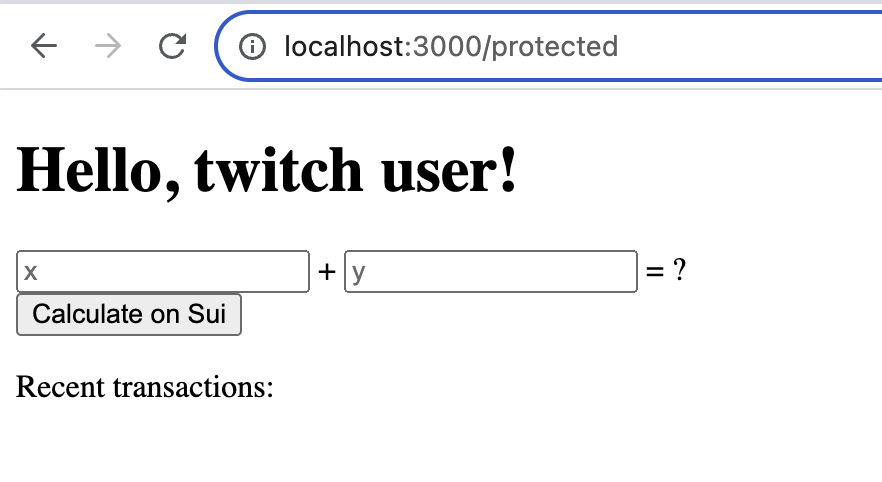
- The frontend grabs the numbers the user entered (which will be the arguments to the Move function call) and sends a request to the
/api/add/txendpoint via a via a mutation.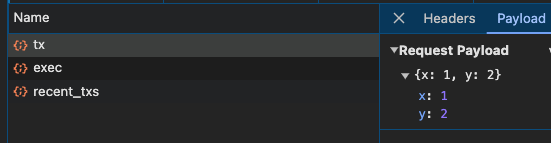
- The backend generates the gasless transaction and then makes a request to Shinami Gas Station to sponsor the transaction using the Testnet fund linked to the
SHINAMI_SUPER_ACCESS_KEYyou provided. - The frontend signs the sponsored transaction with the zkLogin wallet’s ephemeral KeyPair. And then makes a request to the
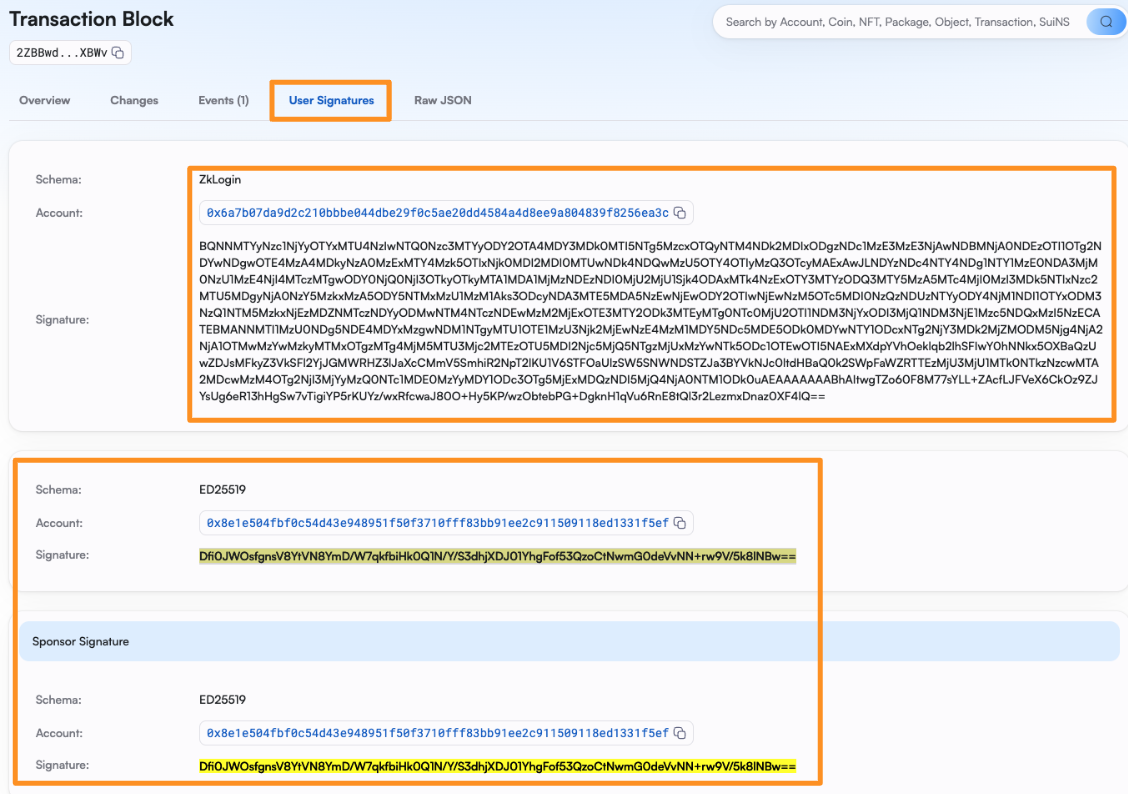
/api/add/txendpoint. - The Backend assembles the zkLogin signature and then uses free Mysten node service service to submit the transaction to the Sui Testnet with
sui_executeTransactionBlock.
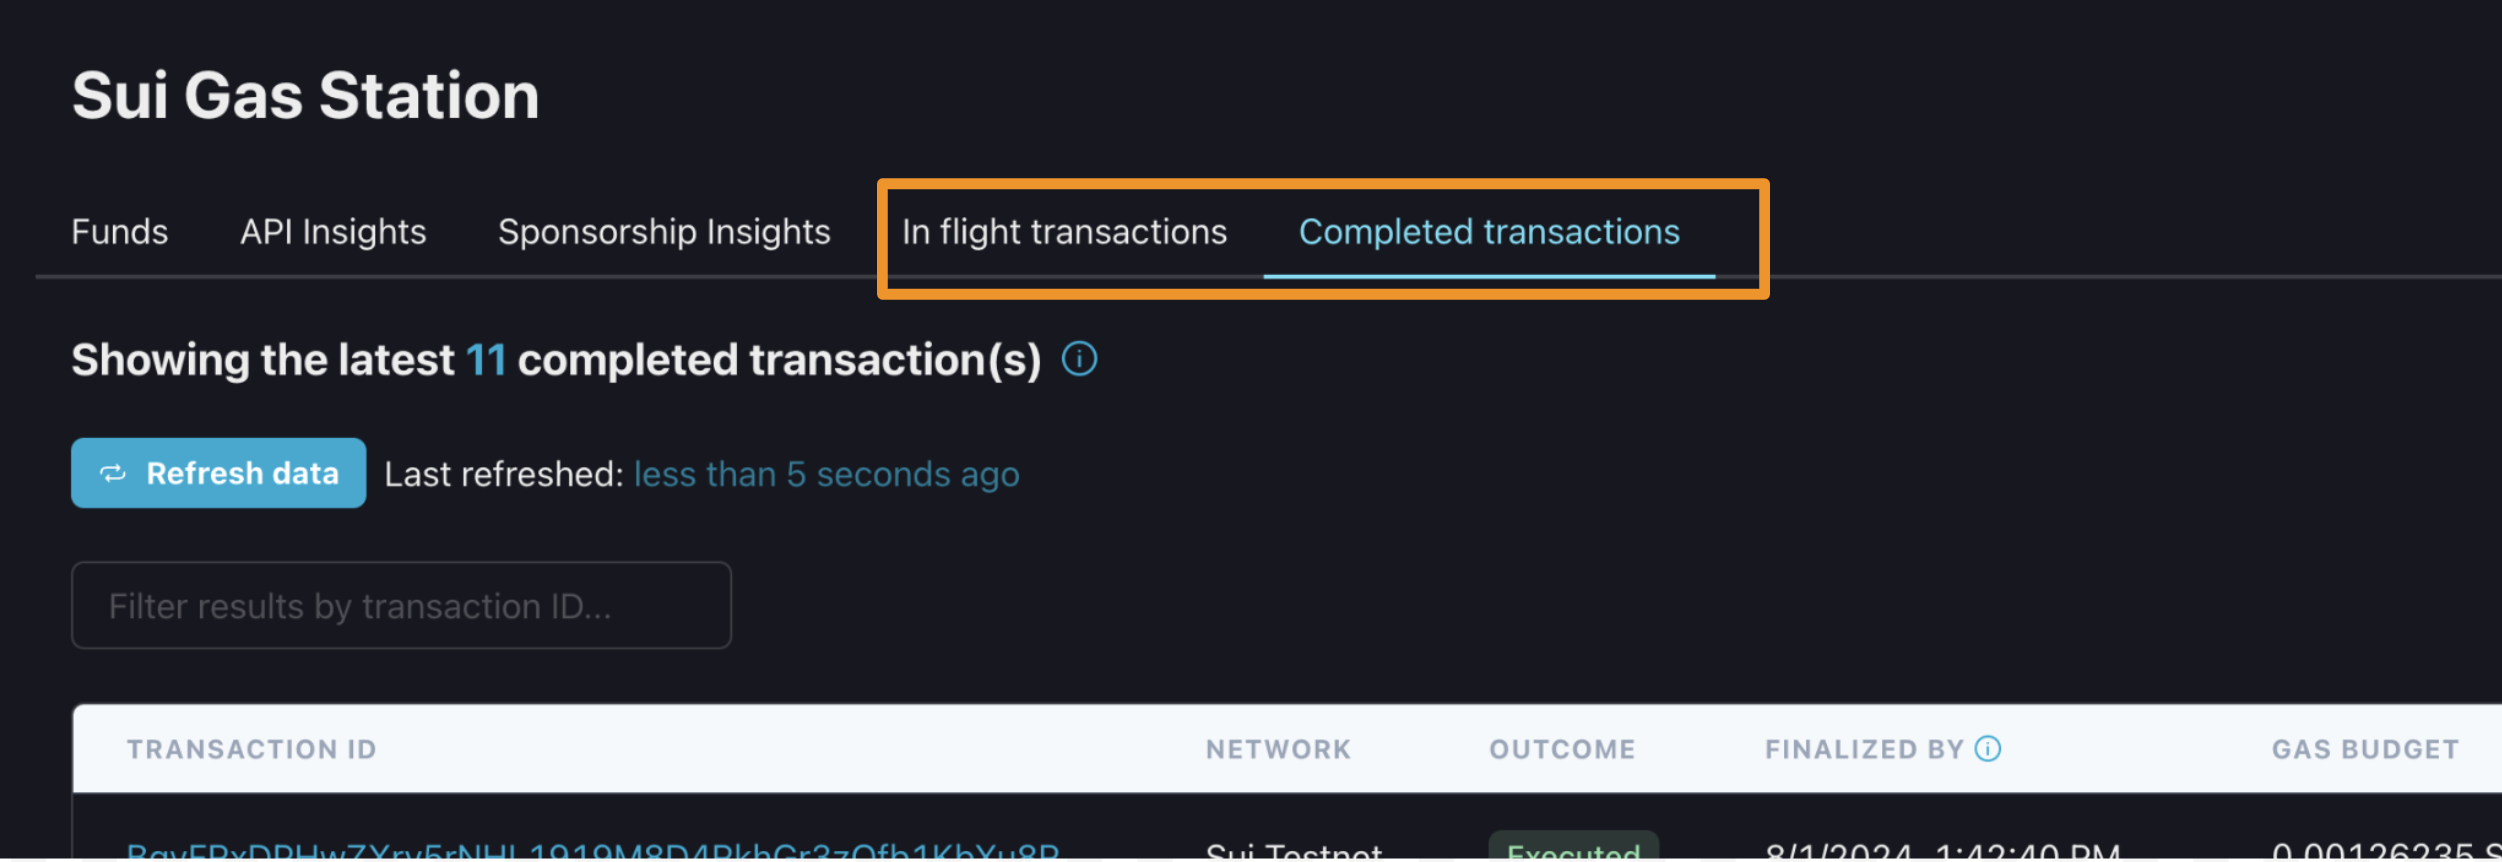
Preparing add tx for zkLogin wallet 0x6a7b07da9d2c210bbbe044dbe222225ae20dd4584a4d8ee9a804839f8256ea3c. Then, shortly thereafter, you’ll see the result and the associated transaction digest (your digest will be different):
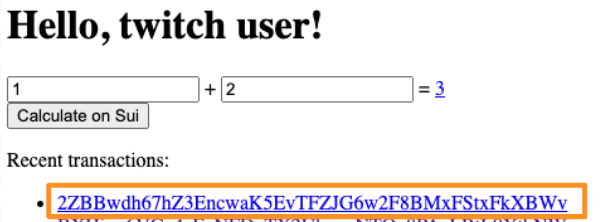
Note, though, that sponsored transactions can remain in the “In flight transactions” tab after a successful execution for a minute or so (until our gas object cleanup job runs). So, check that tab if needed.
A note on zkLogin addresses
If you click “Sign out” in your localhost tab and then sign in via the same(OpenID provider,username) pair, you’ll have the same zkLogin wallet address. Signing in with a different combination will create a different address (see more info on what makes up a zkLogin address in our zkLogin wallet API doc). As you can see, if I go back to http://localhost:3000/ and sign out